A TEST CASE is a set of conditions under which a tester will determine whether a system under test satisfies requirements or works correctly. The process of developing test cases can help find problems in the requirements or design of an application.
In this blog post, we will see how to write testcase in Testcafe to do end to end testing.
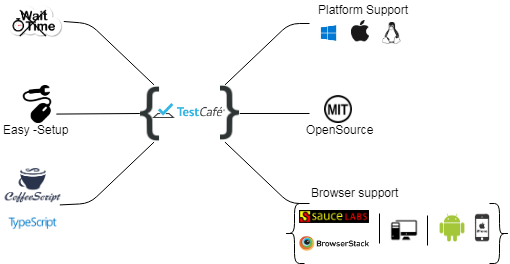
TestCafe is a pure node.js end-to-end solution for testing web apps. It takes care of all the stages: starting browsers, running tests, gathering test results and generating reports. TestCafe doesn't need browser plugins - it works in all popular modern browsers out-of-the-box. It allows you to easily write a functional test that inputs text, clicks buttons, and validates the results.


Need to install node.js in your system, then you can install packages with the help of npm command.
TestCafe allows you to write tests using TypeScript or JavaScript (with its modern features like async/await).
npm install -g testcafe A selector is a function that identifies a web page element in the test. The selector API provides methods and properties to select elements on the page and get their state.
import { Selector } from 'testcafe'; TestCafe tests must be organized into categories called fixtures. A JavaScript or TypeScript with TestCafe tests can contain one or more fixtures.
Call the test function and pass the test code inside it. A test controller object t exposes the test API's methods. TestCafe tests are executed on the server side.
TestCafe will chosen the open browser (Chrome) to test by Default and also we can mention the browser to test the test case.
Fixture hooks are executed before the first test in a fixture is started and after the last test is finished.
Test hooks are executed in each test run before a test is started and after it is finished. If a test runs in several browsers, test hooks are executed in each browser.
Fixture hooks are executed before the first test in a fixture is started and after the last test is finished.
The following assertion methods are available in TestCafe:Deep Equal, Not Deep Equal, Ok, Not Ok, Contains, Not Contains, Type of, Not Type of, Greater than, Greater than or Equal to, Less than, Less than or Equal to, Within, Not Within, Match, Not Match.

In these we are going to see how to write the test for the login with validation using TestCafe. It describes with the step-by-step process and code implementation.
For that we have to do certain process in the TestCafe Studio, steps are given below,
As we have previously seen that how to run our code in editor using testcafe package, Now we are going to run our tested application. The entire code for the login test case which is generated by the TestCafe is given below,
Following command is used to run the above code, it runs our test case application which is recorded using TestCafe Studio.
testcafe chrome BlogTestcaseLogin.js